GUIDES
Follow the install guides below to get the most from your LaceHandles.
Classic : Complete no show look, suitable for most sneakers.
Extended : Complete no show look, for those who like their lace endings to show.
Wide : Complete no show look, with additional space in the centre for sneakers with more cushioning.
CLASSIC
1. Classic begins with LaceHandle in the standard orientation.
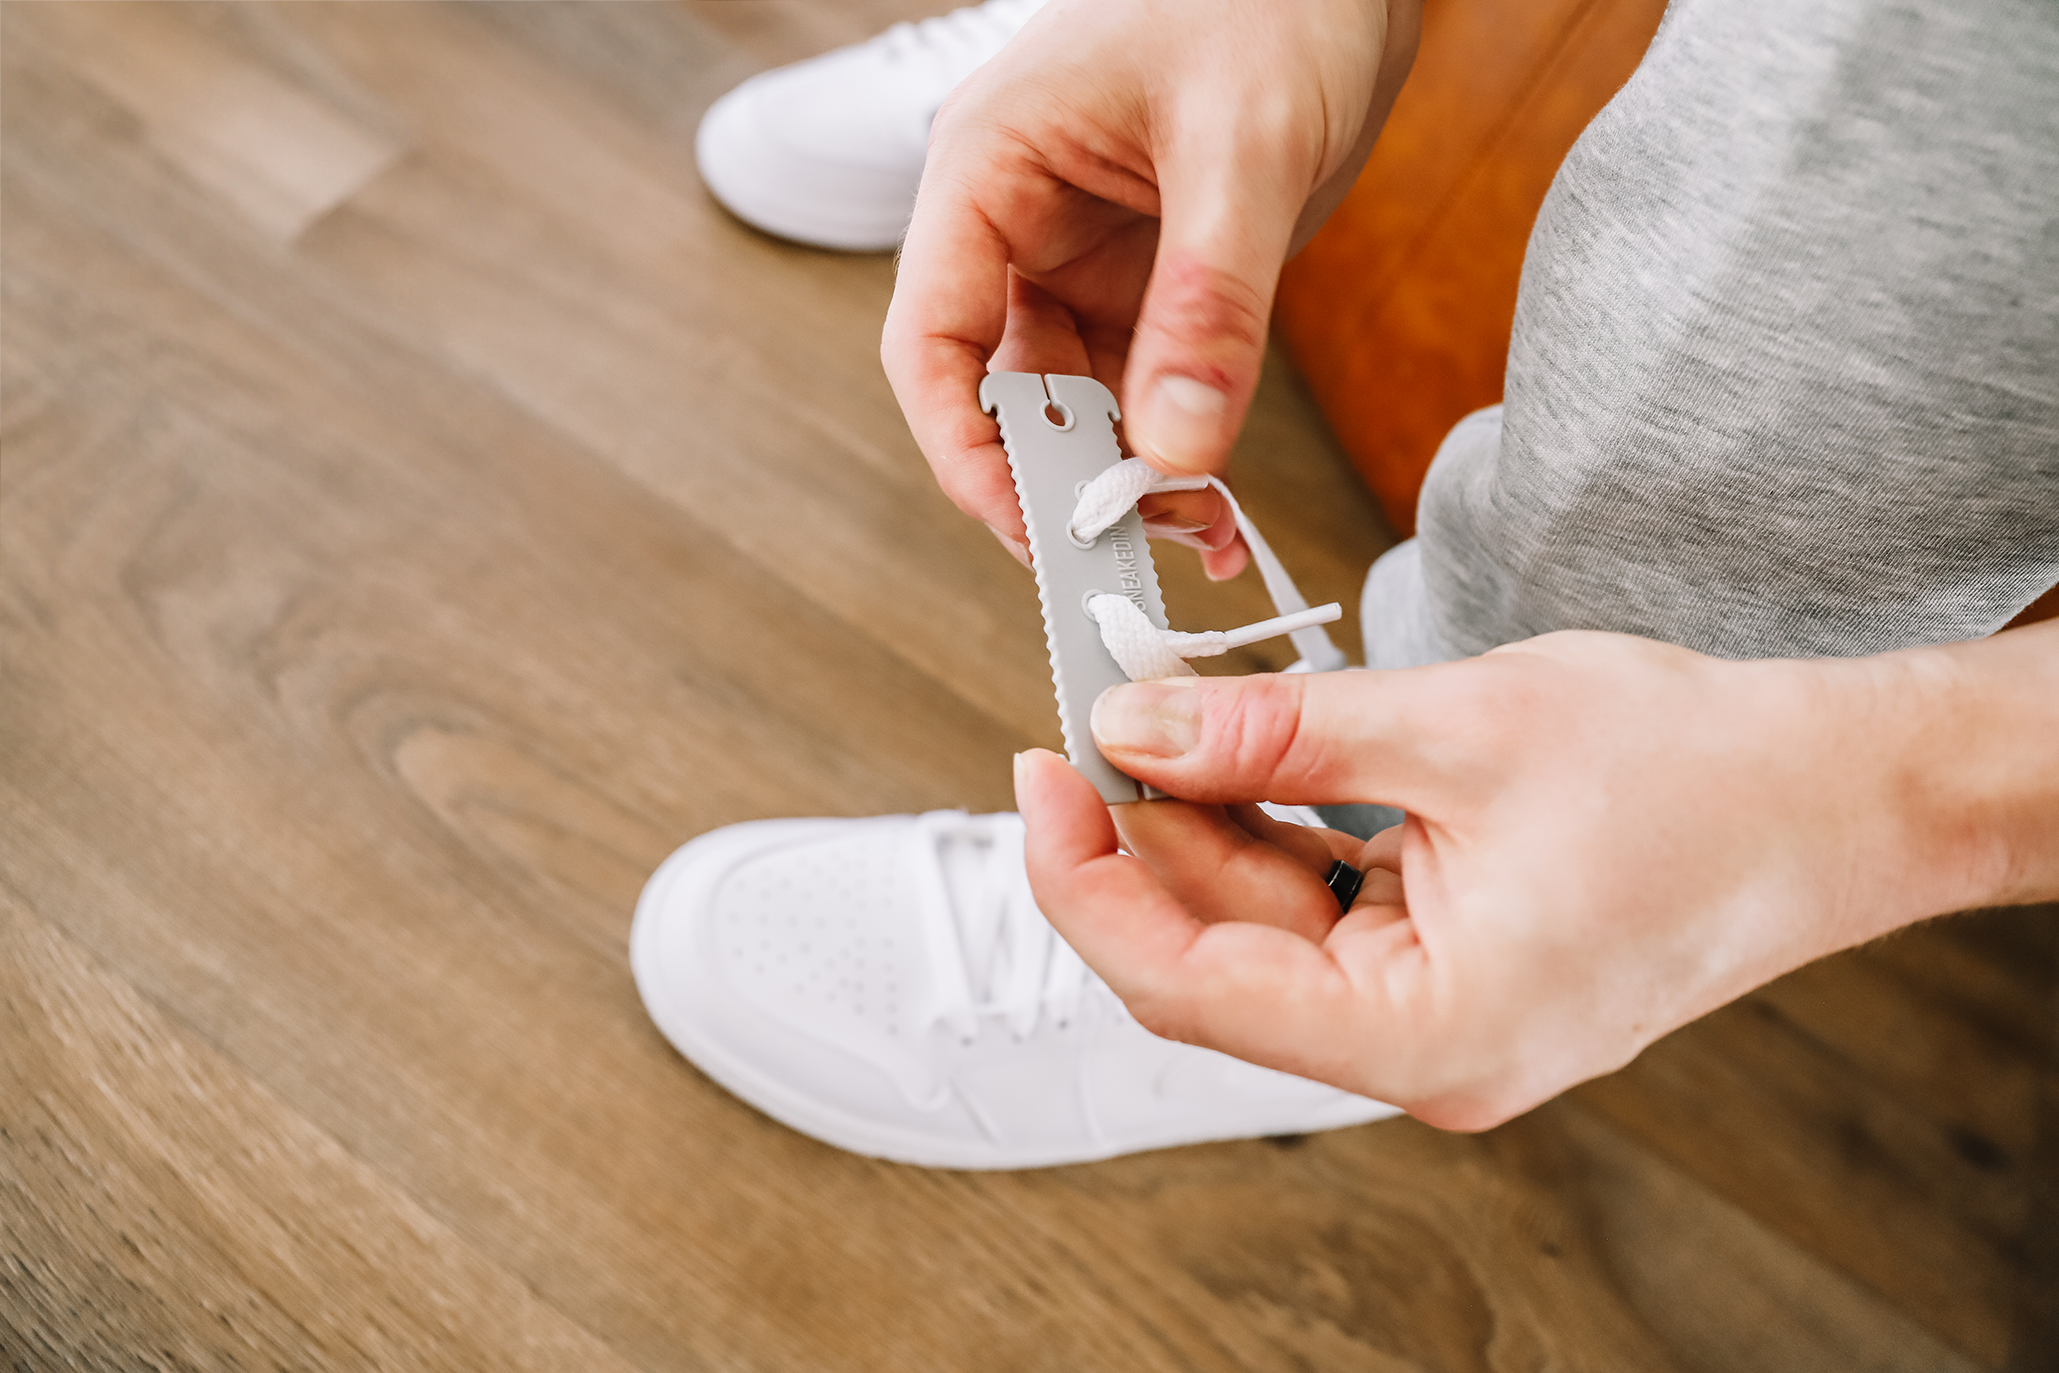
2. Insert lace ending into the top centre holes, then reverse back through the lower outside holes on both sides - ensuring even lengths.
3. Fold the lace endings to the centre and tuck underneath, holding them into place - then begin to spiral your laces around the LaceHandle, spinning away from your body.
4. Continue spiralling the lace evenly along the length towards the outer anchors.
5. Once near the sneaker, pull lightly to get extra lace length, and secure lace through the LaceHandle anchor points on each end.
WIDE
1. Wide format begins with LaceHandle in the reverse orientation.
2. Insert lace into the top centre holes, then reverse back through the lower outside holes on both sides - ensuring even lengths.
3. Fold the lace endings to the centre and tuck underneath, holding them in place - then begin to spiral your laces around the LaceHandle, spinning away from your body.
4. Continue spiralling the lace evenly along the length towards the outer anchors.
5. Once near the sneaker, pull lightly to get extra lace length, and secure lace through the LaceHandle anchor points on each end.
Once secured, you can adjust the tongue and collars of the sneaker to finalise the placement of the LaceHandle.
Pull up from the centre of your LaceHandle to remove your sneakers, and leave threaded at the ends, to use next time.